
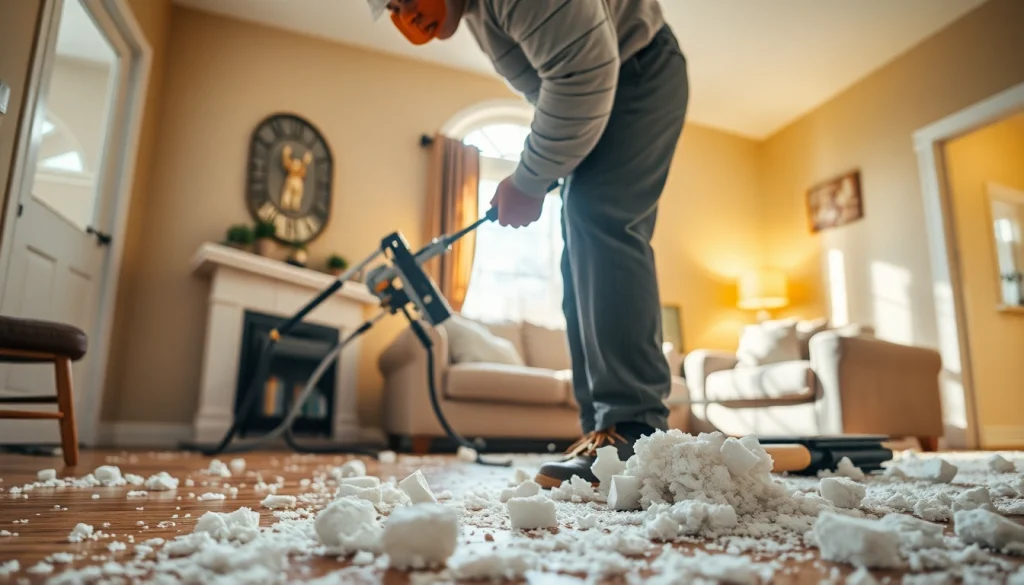
Understanding Spray Foam Removal
Spray foam insulation has gained popularity for its energy efficiency and superior sealing capabilities. However, there are circumstances when spray foam removal becomes necessary. Whether due to improper installation, wear and tear, or changes in building codes, understanding the challenges involved in this process is vital for effective management.
What is Spray Foam?
Spray foam insulation is a unique sealing solution that is often applied in residential and commercial properties to enhance thermal performance and air sealing. It comprises two main components: isocyanate and polyol resin, which, when mixed, expand to about 30 times their liquid volume, creating a solid foam insulation layer. This material is highly effective in filling gaps and cracks, providing a barrier against air, moisture, and pests.
Why You May Need Spray Foam Removal
While spray foam insulation provides numerous benefits, situations arise where its removal is essential:
- Damage or Deterioration: Over time, exposure to moisture or physical damage can compromise the integrity of spray foam. It may begin to break down, harbor mold, or lose its insulating properties.
- Improper Installation: Poor application techniques can lead to uneven surfaces, resulting in air leaks and reduced effectiveness.
- Building Renovations: Homeowners may decide to renovate an area and require more space or a different insulation type.
- Health Concerns: Spray foam can sometimes off-gas harmful chemicals; removing it might be necessary for health and safety reasons.
- Compliance with Codes: Changes in local building codes might require the elimination of certain types of spray foam.
Risks Associated with Improper Removal
Attempting to remove spray foam without the appropriate knowledge and equipment can result in several risks:
- Structural Damage: Incorrect removal techniques can damage surrounding structures or materials.
- Health Hazards: Improper handling may release harmful particles or chemicals, posing health risks to occupants.
- Increased Costs: Poor removal practices can lead to costly repairs, making the initial savings financially unwise in the long run.
- Time Consumption: Without experience, the removal process may take significantly longer than anticipated, delaying other projects.
Techniques and Tools for Spray Foam Removal
Common Methods Explained
There are several methods for spray foam removal, each with its advantages and limitations:
- Mechanical Removal: This method involves physically scraping or cutting the foam from surfaces using specialized tools. It’s effective but can be labor-intensive and may not reach foam deeply embedded in hard-to-reach areas.
- Chemical Removal: Chemical agents can be applied to dissolve the foam, allowing for easier removal. However, care must be taken to avoid damaging underlying surfaces or creating harmful fumes.
- Heat Application: Applying heat can soften the foam, making it easier to remove. This method requires precision to prevent fire hazards and damage to surrounding materials.
- Combination Techniques: Often, the best approach is using a combination of methods tailored to the specific installation. For example, mechanical removal might be combined with chemical agents for hard-to-remove sections.
Essential Tools You Should Have
Having the right tools is crucial for safe and effective spray foam removal. Essential tools include:
- Safety Gear: Always wear gloves, goggles, and masks to protect against dust, fumes, and allergens.
- Utility Knife: Ideal for cutting into the foam to break it apart.
- Foam Scraper: A specialized tool that makes it easier to remove foam from surfaces without damaging them.
- Chemical Solvents: Commercially available products designed specifically for spray foam deconstruction.
- Heat Guns: Used to apply heat gradually to soften the foam prior to removal.
Step-by-Step Process for Safe Removal
The following steps outline a comprehensive process for safely removing spray foam insulation:
- Prepare the Area: Clear the workspace of any obstacles, and ensure proper ventilation to handle fumes safely.
- Put On Safety Gear: Always prioritize personal safety by wearing the appropriate equipment.
- Assess the Foam: Determine the type and extent of the spray foam application to tailor your removal strategy.
- Choose Your Method: Based on your assessment, decide on the removal method that suits your needs.
- Begin Removal: If using mechanical methods, start scraping from the edges, gradually working inward. For chemical methods, apply solvents as directed.
- Inspect and Clean: Once removed, inspect the underlying surfaces for damage and clean the area thoroughly, ensuring no residue remains.
Best Practices for Safe and Effective Removal
Safety Precautions to Consider
Prioritizing safety is imperative during the spray foam removal process. Consider the following precautions:
- Ventilation: Ensure proper airflow in the work area to minimize inhalation of fumes or dust.
- Fire Safety: Keep flammable materials away, especially when using heat tools.
- Follow Instructions: Adhere strictly to the manufacturer’s guidelines for any chemicals or tools being used.
- Work Methodically: Take your time to avoid rushing, which can lead to mistakes and accidents.
Proper Disposal of Removed Foam
Disposing of removed foam must comply with local regulations. Many regions classify foam as hazardous waste. Here’s how to manage disposal:
- Check Local Regulations: Understand your community’s guidelines on disposing of construction waste.
- Contain the Foam: Place removed spray foam into designated disposal bags or containers to prevent spillage.
- Utilize Hazardous Waste Facilities: Take the foam to local facilities that specialize in hazardous waste disposal for safe handling.
Aftercare and Clean-Up Steps
After the removal process, consider these clean-up steps:
- Inspect the Area: Look for any remaining residues or damage needing attention.
- Repair Surfaces: Address any underlying surface damage with necessary repairs.
- Clean Tools Thoroughly: Ensure all tools and safety equipment are cleaned and stored properly for future use.
- Assess for New Insulation: Once the area is clean and repaired, you can evaluate options for re-insulating or renovating the space.
Cost Factors in Spray Foam Removal
Understanding Pricing Models
When budgeting for spray foam removal, be aware of various pricing models based on the method and scope of work. Common models include:
- Per Square Foot: Many contractors will charge based on the area being treated, typically between $2 and $4 per square foot.
- Hourly Rates: Some professionals may provide their services based on an hourly rate, especially if the work involves unexpected complications.
- Flat Rates: Specific tasks can have a flat fee, particularly for smaller jobs or standardized removals.
Factors Influencing Cost
Several considerations can impact the overall cost of spray foam removal:
- Foam Type: The complexity and type of spray foam can significantly affect removal costs due to differences in material and adhesion strength.
- Accessibility: Locations that are harder to reach may require additional labor and time, increasing costs.
- Extent of Damage: If underlying surfaces require repairs, this will dramatically influence the project budget.
- Location: Regional differences in labor and disposal regulations may lead to varying prices across different areas.
How to Budget for Your Project
Proper budgeting ensures no financial surprises during the spray foam removal process. To effectively allocate your funds, consider these steps:
- Get Multiple Quotes: Reach out to several contractors to compare estimates and services offered.
- Understand the Scope: Clearly define the areas needing removal and any additional repairs to accurately gauge costs.
- Factor in Incidentals: Always include a buffer in your budget for potential surprises or damage discovered post-removal.
- Plan for New Insulation: If replacing the spray foam, budget for new materials and potential installation costs.
FAQs on Spray Foam Removal
What are the signs that spray foam should be removed?
Common signs include visible wear, moisture damage, or environmental concerns, indicating a need for removal.
Is professional removal necessary?
While DIY is possible, professional removal ensures safety and efficacy, minimizing risks associated with the process.
How long does the removal process usually take?
The removal process typically takes a few hours to a few days, depending on the area and complexity involved.
Can I replace spray foam after removal?
Yes, after proper preparation and inspection, new insulation can be installed to restore thermal efficiency.
What is the cost of spray foam removal?
Costs vary widely, typically ranging from $2 to $4 per square foot, depending on the complexity of the job.